Rolos Platform: User Guide
Creating your first project
To create a project in Rolos Platform:
- Log in to your Rolos Platform account at https://my.rolos.com/.
- Click Create new project.
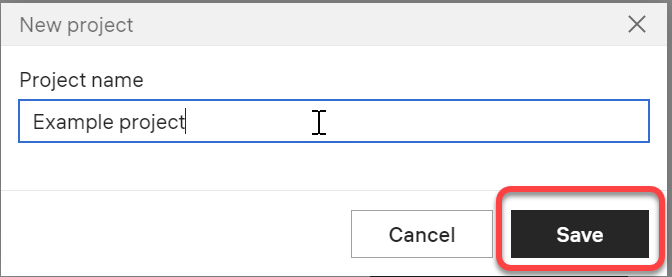
- Specify the project name and click Save.

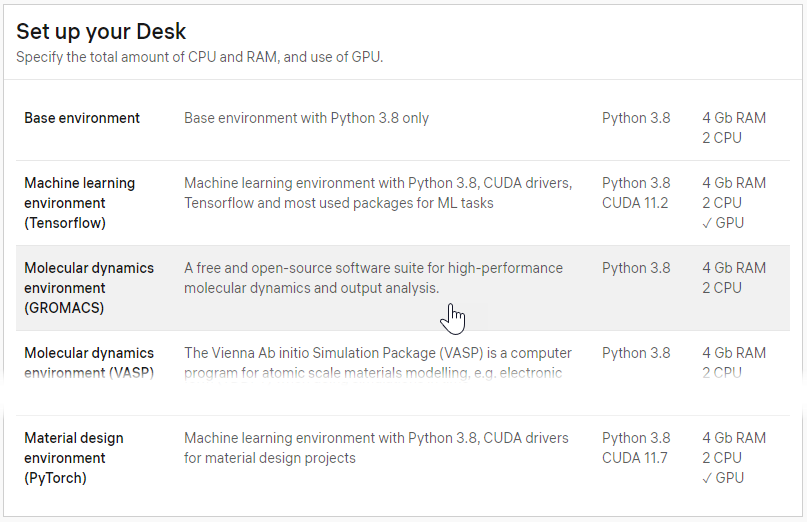
- Click the virtual enviromnent name to select it for the project.

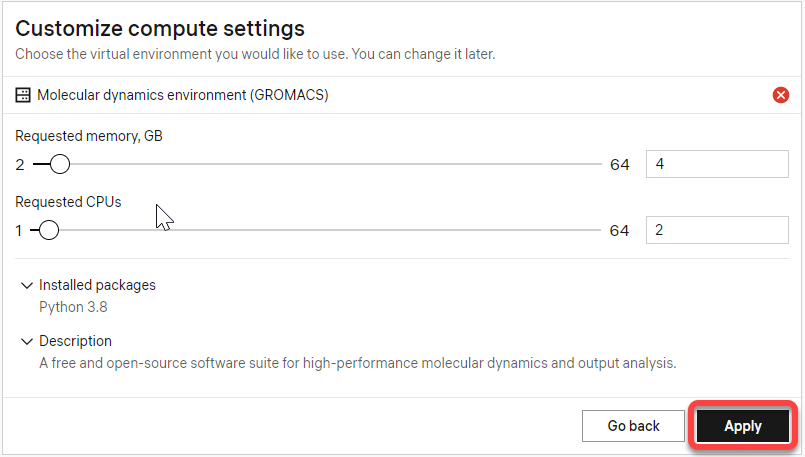
The virtual environment resources configuration dialog will open.
- Cofigure the required resource volume and click Apply.

After the virtual environment starts, the VS Code interface will open.
 |
If the screen with the message “Please wait. Setting up your environment may take a few minutes.” is displayed for too long, it means that the selected resource is unavailable. Try reducing the volume of resources. |
When the VS Code interface is opened, you can configure it as it is convenient to you.

|
You can also customize the resources in the virtual environment or change the environment of an opened project. See Customizing a project virtual environment.. |
By default, a newly created project includes the following files and folders:
- rolos_workflow_data — a folder to which logs after the project workflow runs are written
- .gitattributes — a file that contains attributes to distinguish between project files containing code and files containing large amounts of data for processing and analyzing
- .gitignore — a file that contains information about what files to ignore when commiting data to the repository.
- README.md — a file with general instructions on how to use the Rolos Platform
When your project is created, you can start adding your data and scripts to conduct your surveys.
 |
If you did not find among the default virtual environment templates one that meet your project requirements, you can order a customized environment. Please contact our support to place an order. |